Understanding the Selection Process
Create a pond or feature in three easy steps!
Three Easy Steps
-
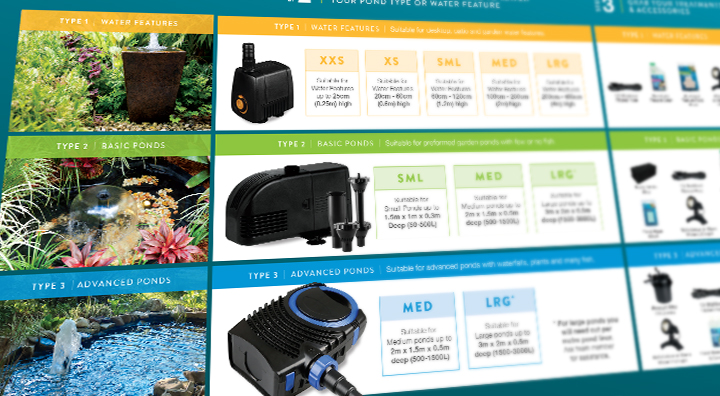
Step 1 Select Your Pond Type or Water Feature
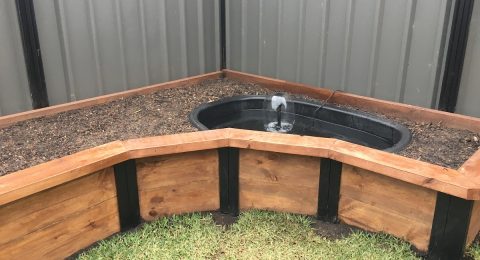
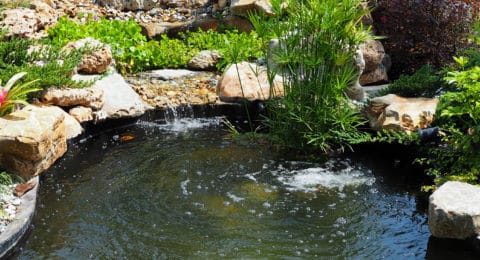
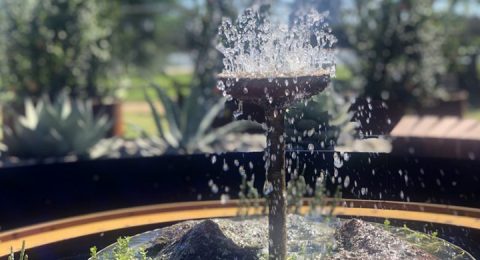
Type 1WATER FEATURESSuitable for desktop, patio and garden water features.Type 2BASIC PONDSSuitable for preformed garden ponds with few or no fish.Type 3ADVANCED PONDSSuitable for advanced ponds with waterfalls, plants and many fish. -
Step 2 Choose Your Pump Size
Type 1 | Water Features
Pump Size Pond size XXS up to 25cm (.025m) high XS 20cm – 60cm (0.6m) high SML 60cm – 120cm (1.2m) high MED 100cm – 200cm (2m) high LRG 200cm – 400cm (4m) high Type 2 | Basic Ponds
Pump size Pond size SML 1.5m x 1m x 0.3m Deep (50-500L) MED 2m x 1.5m x 0.5m deep (500-1500L) LRG 3m x 2m x 0.5m deep (1500-3000L) Type 3 | Advanced Ponds
Pump size Pond size MED 2m x 1.5m x 0.5m deep (500-1500L) LRG 3m x 2m x 0.5m deep (1500-3000L)* * For large ponds you will need cut per metre pond liner. Ask team member for assistance.
-
Step 3 Grab Your Treatments and Accessories
Finally grab some lighting, pond features, UV Filters or anything else you might want to upgrade your pond!
This is just a brief summary so don’t forget to download the whole selection process to get more details.
Download the Selection Process
AQUAPRO products available at Bunnings have badges so you can easily identify the parts that you need!